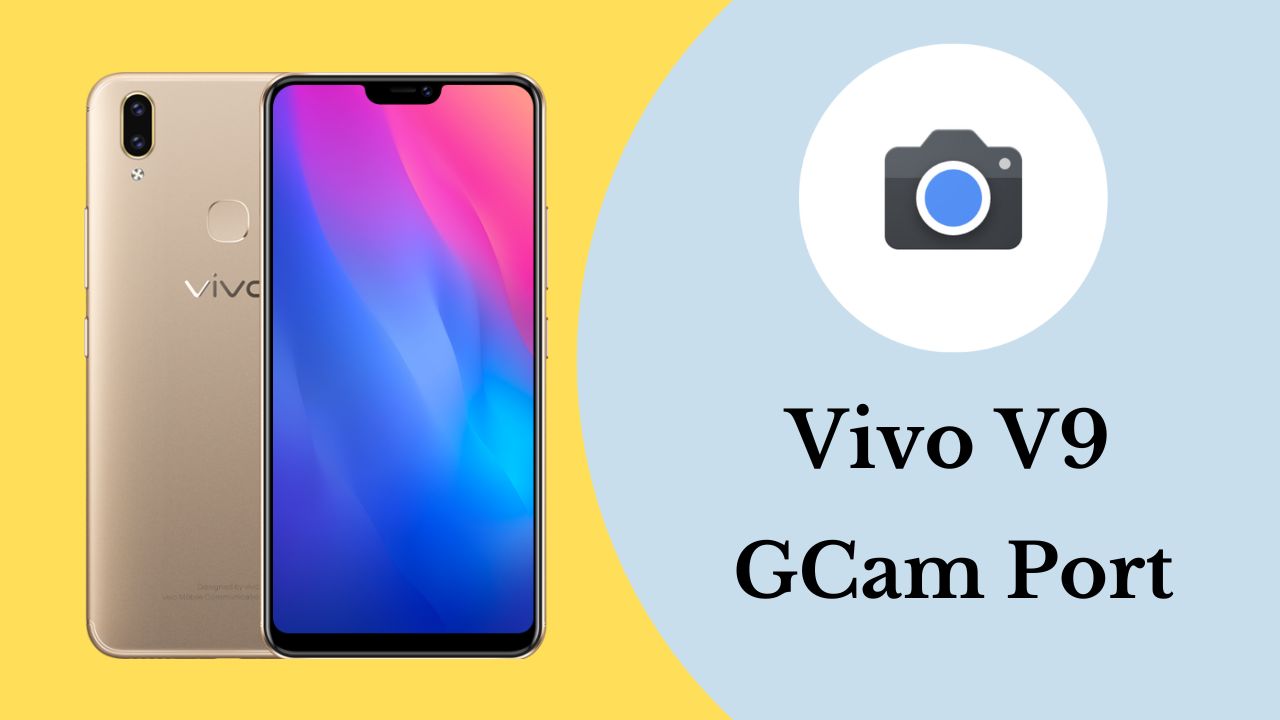
The Vivo V9 is a popular smartphone model that offers decent camera performance. However, with the installation of the Google Camera (Gcam port) app. You can take your photography game to the next level. In this article, we will discuss the benefits of Gcam, how to install it on your Vivo V9 & how to configure it for optimal results.
This device has a 6.3″ 1080×2280 pixels big display. Vivo V9 comes with a 16MP primary camera with 4GB RAM features. 3260 mAh Li-Ion battery with Android 8.1 (Oreo), Funtouch 4 OS. Chipset Qualcomm MSM8953-Pro Snapdragon 626 (14 nm) available on Vivo V9. Does Vivo V9 support GCam port apk? Yes, Vivo V9 users can able to use the Gcam port.
Gcam Benefits: Why You Should Install It on Your Vivo V9
The Google Camera app offers several advantages over the default camera app on the Vivo V9. Some of the key benefits include:
- Better Image Processing: Gcam’s advanced algorithms can capture more details, enhance color accuracy, and reduce noise in your photos.
- Night Sight: With Gcam’s Night Sight mode, you can take stunning low-light photos without using a flash or tripod.
- Portrait Mode: Gcam’s Portrait mode can capture stunning portraits with natural bokeh effects.
- Wide-Angle Photos: Gcam’s wide-angle lens feature can help you capture more of the scene in a single photo.
Vivo V9 Gcam Port
To install the Gcam app on your Vivo V9, you need to get the APK file from a trusted source. One of the most popular Gcam ports for the Vivo V9 is the GCam_7.3.018_Urnyx05-v2.5.apk file. You can get it on websites like XDA Developers, APKMirror, or the Telegram group dedicated to Gcam ports.
- LMC 8.2 Apk Camera With Config File
- LMC 8.2 Helena R4 Apk | Helena R5 & R7 Available
- LMC 8.4 R1 Apk | Latest Config File Available
- LMC 8.4 R15 Apk | Best Config File Available
- GCam 8.7 Apk | Popular Config Files Available
How Do I Install Gcam on Vivo V9?
If you are a new user of GCam port apk. Then you must know how to install Gcam on Vivo V9. Here we share the easy instruction. You just need to read the below guidelines & complete every step.
- Once you have gotten the Gcam APK file, follow these steps to install it on your Vivo V9:
- Enable Installation from Unknown Sources: Go to Settings > Security > Unknown Sources and toggle on the option to allow installation of apps from unknown sources.
- Install the APK File: Open the file manager app on your Vivo V9 and locate the downloaded Gcam APK file. Tap on it to start the installation process.
- Open Gcam: Once the installation is complete, you can open the Gcam app and start taking photos.
Vivo V9 Gcam Configuration: How to Optimize Your Photos
To get the best results from Gcam on your Vivo V9, you need to configure the app settings properly. Here are some key settings to consider:
HDR+ Parameters: Go to Settings > Advanced > HDR+ parameters and adjust the settings based on your preference. For example, you can increase saturation or sharpness to make your photos more vivid.
Night Sight: To access Night Sight mode, tap on the “More” option in the bottom menu and select Night Sight. Make sure to keep your hands steady while taking the photo for the best results.
Portrait Mode: To use Portrait mode, tap on the “Lens” icon and select the Portrait mode option. Make sure your subject is well-lit and positioned at an appropriate distance from the camera.
Conclusion
The Vivo V9 Gcam port offers a powerful tool to enhance your photography skills. With Gcam’s advanced features and easy installation process. You can take better photos and capture stunning moments with ease. Whether you’re a professional photographer or just someone who enjoys taking photos, Gcam is definitely worth a try on your Vivo V9.
Read More:
Vivo Y81 Gcam Port | Latest Version With Configuration
Best Vivo Z1 Pro Gcam Port With Latest Config
Vivo Y12s Gcam Port – Best Config File Available
Vivo V15 Gcam Port Apk – Latest Version Google Camera
